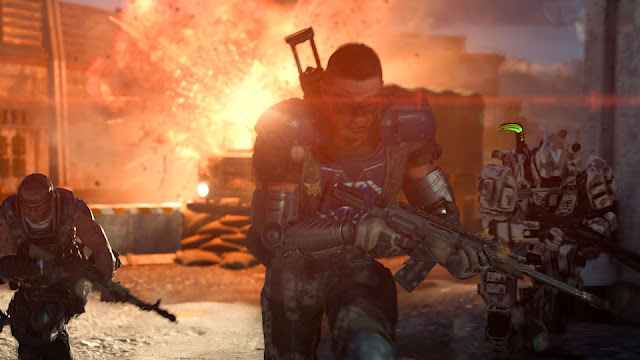
“Black Ops Flashback: US covert operations have gone behind enemy lines, to the heart of Russia, in order to halt a Soviet nuclear missile launch.”
We’re not just ending our Black Ops 4 Map Spotlight series with a bang, but a nuclear explosion:
As part of Operation Dark Divide, Black Ops Pass members will be able to take a trip down memory lane with the Multiplayer map Launch. Here, you’ll fight on a medium sized map that plays fast and frenetic as a missile is locked, loaded, and launched during the middle of a match.
While this map may feel familiar to veterans of the Call of Duty franchise, the Black Ops 4 Specialists allow for some fresh strategies to consider when you want to blast away the competition on Launch.
Lay of the Land:
Launch brings us right to the doorstep of a nuclear war on the grounds of a Soviet cosmodrome.
Teams will spawn at either the eastern or western security checkpoint to the cosmodrome. All paths from here, whether by catwalk, broken concrete alleys, or even an engine room, lead to the map’s center where the missile is launched.
The launch sequence, which takes place during the match, begins with the missile being transported to the launch pad and set upright by way of multiple tracked missile cars. These large green machines also break up the elevated track running across the middle of the map, with the middle car having a ladder on both sides so that one can access a small platform on top of it.
Once the missile reaches the launch pad, it is then held into place over the rocket silo, any players that are in this area when the missile launches into the sky will face fatal consequences. The missile is then launched into the sky… With its strike location left to the unknown.
General Strategy:
For those who played Launch back in the original Black Ops, the fun and tactical gameplay is now bathed in twilight. The map’s distinct areas are intact which give room for various playstyles.
What potentially changes one’s strategies towards mastering this map are the Specialists, which add a new layer of tactics on top of what veterans may remember.
The rocket silo on the northern path offers a unique lane across the map. It’s the least exposed, since the path is underground, but players should still stay alert. On the sides of the missile are two winding staircases that could hold attackers, and with an open roof, players above can toss down lethal equipment, killing anyone below.
Players in this area should consider close range weapons to capitalize on the tight spaces. For Specialists consider Ruin’s Grapple Gun to zip from staircase to staircase outside the flame duct, or Grav Slam down onto those on the pad itself. Recon and Reaper could also provide reasonable cover of the launch pad through their Recon Dart and Radar Shroud Specialist equipment pieces respectively.
Outside of the northern path, getting to the center of the map involves traversing through tight alleys in between buildings, which are potentially conducive to close-range gunfights, so players can employ similar strategies.
The maps center rest atop two converging inclines which is made more dynamic by having multiple environmental cover pieces, two power positions on the southern side, and a missile car that players can mantle to gain elevation on enemies nearing the center from various lanes.
Consider equipping medium to longer-ranged weapon and Specialist weaponry and equipment that favor precision and have high lethality like Seraph’s Annihilator, Outrider’s Sparrow, and Prophet’s Tempest.
Meanwhile, elsewhere on the map, Torque can limit movement through one or two tight lanes using his Razor Wire or Barricade, or Nomad could do the same with his Mesh Mine.
The rest of the Specialists also are worth considering due to their versatility on Launch. From Ajax’s 9-Bang to Zero’s EMP Disruptor and everywhere in between, there is a definite case for picking every Specialist… You just have to find out for yourself how they can turn the tide of battle on Launch.
Objective Tips and Tricks:
The rocket launch site becomes an important objective area across multiple game modes, such as being the B Flag location in Domination and a bomb site in Search & Destroy.
In terms of objective strategy here, verticality comes into play, as those on the elevated track could look down onto the flame duct and fire down at those below. Be aware of that large circular opening above this objective location and consider having a teammate or two look out for the rest of the squad by locking down the high ground above the launch area.
Another potential danger to watch out for is the rocket itself; yes, its launch happens during the map, and yes, the exhaust flames will cook any Specialist that dares to stand underneath them in the flame duct. Avoid this area at all costs when the rocket launches, but also consider taking the objective in this area before liftoff to have a few seconds of uncontested play during the launch.
There is also the possibility of winning an objective game mode without even touching the launch site. One example of this is in Domination, where the A and C flags are placed in a triangle pattern away from the B flag.
Wresting control of the elevated railway and firing down upon those near the rocket launch site could be a viable strategy here, as it is definitely possible to hold A and C while fending off potential attacks coming from the B side.
Whether you are dropping in for the first time or looking for the best strategies after your 100th game, the ultimate tip we have for this map, and every map in Call of Duty: Black Ops 4, is to have fun.
We’ll see you online, Specialists.
Tags:
BLACK OPS 4


Post a Comment
0 Comments